How To Make Tie-Dye Shirts for Women?
Tie-dye t-shirts are fun and funky, and making your own is a great way to recycle old, stained tees that might otherwise be destined for the recycle bin. The process is not for everyone, which is why so many people choose to buy our ready-made Women’s Tie Dye T-Shirt, but if you don’t mind a little mess and waiting time, here is what you need to know about making your own versions.

Be prepared
Making tie-dye t-shirts can be a messy process, but you can minimize the cleaning up by making sure you’re properly prepared before you start. You might choose to get yourself a ready-made tie-dye kit or start by gathering everything that you will need to create your tee.
What you need

Here’s a list of what you will need to create your t-shirt:
Light-colored or white cotton t-shirt. If you don't have a pure cotton shirt, you can use a 20 percent polyester mix. Be careful if you decide to go for anything else as lots of fabrics won’t take dyes very well.
Fabric dye or a mix of water and food coloring
Plastic squeeze bottle. You can recycle an old ketchup or mustard bottle if you like.
Plastic cable ties, hair ties, or rubber bands. Zip ties will provide the cleanest lines.
Big resealable plastic bags
Gloves
Trash bags
You may also want beads, beans, plastic wrap and a ruler, but this will depend on what designs you want to create.
Once you have everything on hand, prepare your workspace by laying down trash bags and dressing in old clothes. You may want to work outside in a grassy area if you really don’t want to worry about creating any mess.
Soak your shirt
You want to tie-dye your shirt while it’s damp, so soak it in a mixture of one part vinegar and one part water. You could also use soda ash solution or just lukewarm water. Leave your shirt soaking for an hour.
Next, choose one of the patterns detailed below and get to work. Once dyed, place your banded shirt in one of your big plastic bags (ones with zip tops work best) and leave for eight hours or more for vivid shades. You can take it out after a couple of hours if you want pastel shades.
When it’s time to remove it, wear gloves and rinse in cold water. Stop when the water is running clear. Next, wash it on its own on a cold cycle in your washing machine before hanging it up to dry or using your tumble dryer on the coldest setting.
Patterns to try
There are all sorts of tie-dye patterns you can try. Some are more difficult than others, but here are some suggestions that you may want to consider:
The crumple
This is one of the easiest to try. Simply crumple up your shirt and tie it into a ball using around 10 rubber bands. Apply enough of one color of dye so that it is colored but not soaking wet.
The ring
This is another easy option that starts by laying your shirt out flat. Pinch a knot in the center of the front of the shirt (you can measure with a ruler if you like). Tie three bands around the base and then apply your dye. The size of the knob will determine how big your circle is.
Sunbursts
Rather than creating one circle, you can create multiple sunbursts all over your shirt by pinching different 3-inch knobs and securing them with bands. You can do all the sunbursts in the same color or use different ones.
You can create a polka dot effect in a similar way but by wrapping knobs around a bean or bead and wrapping them in plastic when you dye.
The spiral

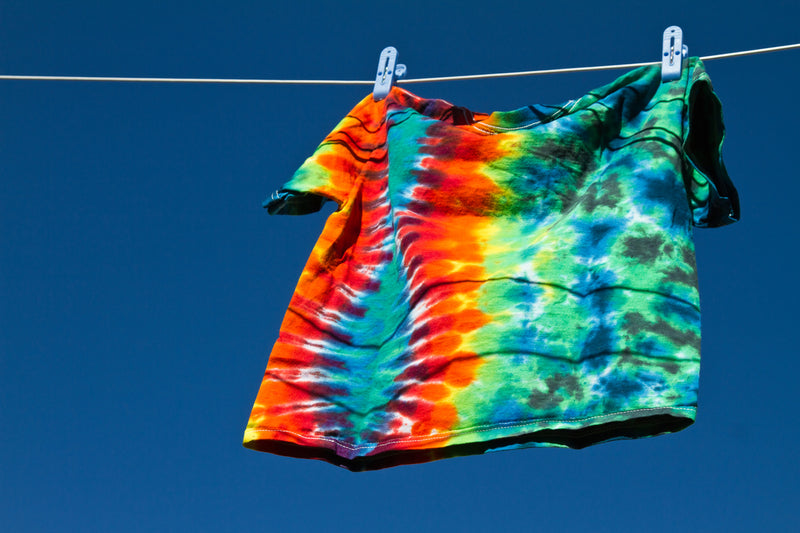
If you want to create a spiral like on the Woman’s Tie Dye T-Shirt, you need to pinch a center point of your t-shirt with your left hand. Keep that in place on the table and use your other hand to twist your shirt clockwise until the whole thing creates a spiral shape around your left hand. Use rubber bands to secure the spiral shape without picking your shirt up. Use three rubber bands and divide your shirt into six equal sections, like the slices of a pizza. Dye each of the sections with a different color, then flip it over and repeat the process on the back. You can use more rubber bands to create thinner spirals.


